どーも、学生エンジニアのゆうき(@engieerblog_Yu)です。
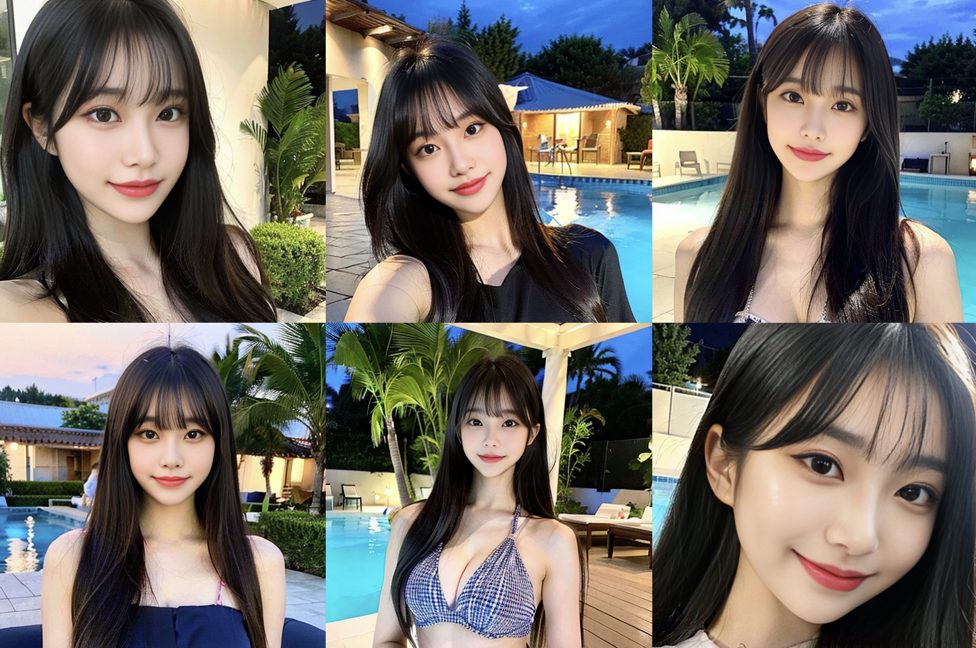
今回は、Google ColaboratoryでStable Diffusionを動かして美女画像を作る方法を紹介したいと思います!
以下のコードを実行するだけで、誰でもStable Diffusionを立ち上げて、アクセスできると思います。
目次
Colabでのサーバーの立ち上げ方
GPUの利用
import torch
import time

# Set device to GPU or CPU
device = torch.device("cuda" if torch.cuda.is_available() else "cpu")

# Create random matrices
input_size = 30000
a = torch.randn(input_size, input_size).to(device)
b = torch.randn(input_size, input_size).to(device)

# Test performance
start_time = time.time()
c = torch.matmul(a, b)
end_time = time.time()

print("Time taken: {:.2f} seconds".format(end_time - start_time))
Stable Diffusion Web UIのインストール
!git clone <https://github.com/AUTOMATIC1111/stable-diffusion-webui>モデルのインストール
!wget <https://huggingface.co/BanKaiPls/your-model-name/resolve/main/BraV4.safetensors> -O /content/stable-diffusion-webui/models/Stable-diffusion/BraV4.safetensorsライブラリのインストール
Pythonライブラリの互換性がない場合があるので、以下で合わせましょう。
%pip install torchvision==0.15.1サーバーの立ち上げ
%cd /content/stable-diffusion-webui
!python launch.py --share --xformers --enable-insecure-extension-access
しばらく待つとPublic URLが表示されるはず。
Stable Diffusion Web UIの使い方
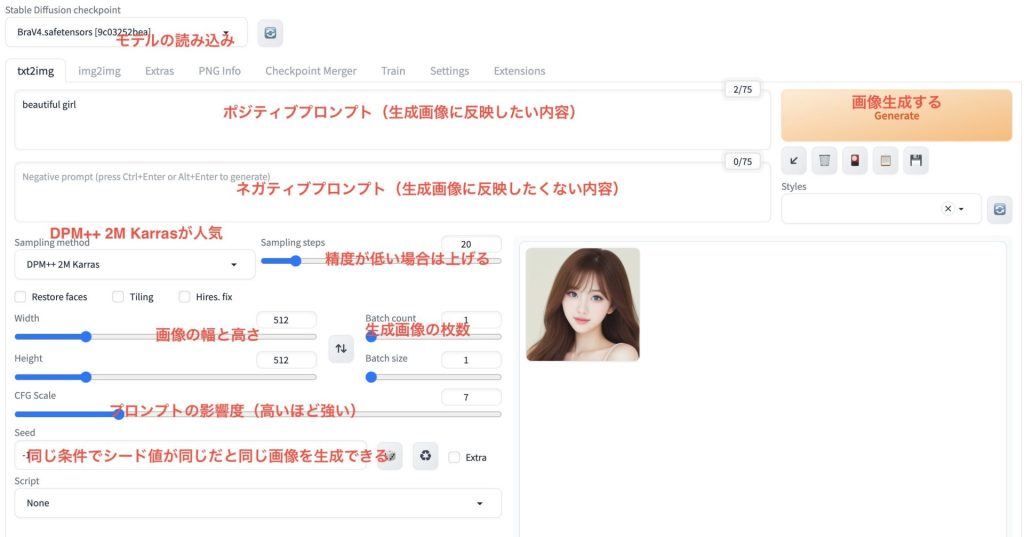
サーバーが立ち上がっている状態で、https://94e488dcc037421841.gradio.liveなどの表示されたリンクにアクセスします。
以下の画面に従って設定します。

画像が出来上がったらクリックで保存できます。
定番のプロンプトは以下です。
ポジティブプロンプト
((((masterpiece)))), high quality, very_high_resolution, large_filesize, full color
ネガティブプロンプト
lowres, bad anatomy, bad hands, text, error, missing fingers, extra digit, fewer digits, cropped, worst quality, low quality, normal quality, jpeg artifacts,signature, watermark, username, blurry, artist name, multiple legs, malformation,
作りたい画像から、プロンプトを探すには以下のサイトがおすすめです。
最後まで読んでいただきありがとうございました!
AI美女生成に興味がある方
Stable Diffusionを使ってAI美女を生成する方法についてもnoteで解説しています。

ChatGPTおすすめ拡張機能
noteで、ChatGPTのおすすめChrom拡張機能5つと収益化方法について解説しています。
noteでは、以下について解説しています。
Googleスプレッドシートやドキュメントの自動入力
ツイートの自動返信
Youtube動画の自動要約
Gmailの自動返信
検索画面にChatGPTの結果表示


コメント